Since returning to a predominantly Macintosh household a few years ago, we have been diligently maintaining backups on our shared TimeMachine volume. Everything is being kept current, and it has been comforting to watch the periodic swirl of the TimeMachine backup status icon in my toolbar. However, we have yet to test this backup strategy and it is now getting to the point where it would be good to know that it’s working.
Fortunately, the advent of OS X Lion also means you can legally virtualize your operating system for the purposes of development and testing. This is going to certainly offer a number of other advantages, but it immediately occurred to me that it would be an ideal springboard for testing my TimeMachine backup.
For this test, the latest version of VMware Fusion 4.0 was used, which includes drivers for OS X to easily enable your VM video, audio and network. Since I had already installed OS X Lion, it was necessary to download again from the App Store. After this downloads, do not run the installer but instead open your Applications directory from a command prompt and convert the installation disc from a DMG to an ISO that you can boot with VMware:
cd "/Applications/Install Mac OS X Lion.app/Contents/SharedSupport"
hdiutil convert InstallESD.dmg -format UDTO -o /Volumes/FantomHD/ISO/MacOSX_Lion
mv MacOSX_Lion.cdr MacOSX_Lion.iso
Don’t leave the ISO in the OS X install directory, you should copy this to an alternate location where it can be safely kept.
With the CD image in hand, launch VMware Fusion and create a new virtual machine. Select your OS X ISO for the installation media and VMware should automatically detect that this is Mac OS X. Rather than launching right away, you will want to customize your settings – particularly the network and hard drive size. Since you are going to be testing a restore of your system, select a hard disk size that matches the size of your OS X volume. If you’re not sure, from a command prompt you can usually use something like the following:
hostname:~ df -h /
Filesystem     Size   Used  Avail Capacity  Mounted on
/dev/disk0s2  465Gi  222Gi  243Gi    48%    /
On my system, the primary volume is 500GB with 465GB formatted and 222GB used. So my virtual machine was given 300GB for the purposes of validating a full restore.
For the network configuration, change from NAT to bridged mode, this allows your VM to appear as another machine on the network and is going to be easier for me to test other things later on. If there are other VM settings you would like to change, this is a good opportunity to do so. After you are ready, launch the virtual machine and the OS X installation should start up for you.
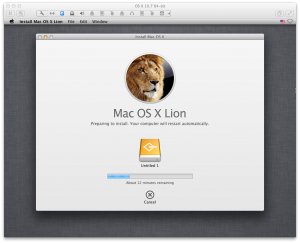
When the installation is complete, there will be a reboot and you will be asked if you would like to restore your machine from another Mac or a TimeMachine backup. Do not run this process yet, for the time being create a new user account with a login that you can remove later (e.g.: “test”) and logon to a default OS X desktop.
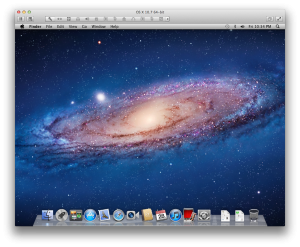
Inside the virtual OS X desktop, open the finder and eject the OS X Lion installation disc. At this point, the operating system is installed and the only installation task remaining is to setup the VMware drivers. On the VMware menu, select Virtual Machines – Install VMware Tools; this will mount another ISO image in your OS X virtual machine and will provide you a VMware driver package link you can use to install. Once this is finished, a reboot is required after which you should be ready to initiate the restore.
If the system you are about to restore is still running, you should either shut it down or turn off TimeMachine backups. You won’t be able to initiate the restore from the TimeMachine volume while backups for the system are still active.
The restore is done using the Migration Assistant application, which can be found under Application – Utilities.

This utility is extremely flexible, it can restore settings from another Mac over the network, a hard drive connected to your machine or from a TimeMachine backup. For this test, I selected my TimeMachine backup and waited for it to find my remote volume.
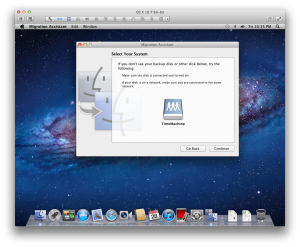
After it connects, be patient while the size of your backup volume is analyzed. On my system over the network this took about 30 minutes to complete, at which point I was able to review everything available for the restore and could then initiate the process. The restore process itself took closer to 2 hours to complete, but this ran overnight so it was ready for me to check the next morning.
On my OS X desktop, all of my cosmetic settings appeared exactly the same – right down to the desktop wallpaper. There were a few applications that had licensing issues, and Mail required quite some time to analyze my inbox before it was ready, but critical data was instantly accessible – things like home movies, pictures, and source code.
It’s a relief to know that my OS X backup strategy is working, and that if it was necessary to restore my machine or any other Mac computer in our house that this TimeMachine volume is functional and would be able to facilitate that process.
